|
|
||
|---|---|---|
| annotator | ||
| models | ||
| samples | ||
| scripts | ||
| .gitignore | ||
| README.md | ||
| extract_controlnet.py | ||
| install.py | ||
README.md
sd-webui-controlnet
(WIP) WebUI extension for ControlNet
This extension is for AUTOMATIC1111's Stable Diffusion web UI, allows the Web UI to add ControlNet to the original Stable Diffusion model to generate images. The addition is on-the-fly, the merging is not required.
ControlNet is a neural network structure to control diffusion models by adding extra conditions.
Thanks & Inspired: kohya-ss/sd-webui-additional-networks
Limits
- Dragging large file on the Web UI may freeze the entire page. It is better to use the upload file option instead.
- Just like WebUI's hijack, we used some interpolate to accept arbitrary size configure (see
scripts/cldm.py) - Processor thresholds are set in
scripts/processor.py. Change it if needed. Batch size > 1 or Latent Upscale will encounter errors.(fixed)MiDas Mode not working due to init issue.(fixed)
Install
Some users may need to install the cv2 library before using it: pip install opencv-python
Install prettytable if you want to use img2seg preprocessor: pip install prettytable
- Open "Extensions" tab.
- Open "Install from URL" tab in the tab.
- Enter URL of this repo to "URL for extension's git repository".
- Press "Install" button.
- Reload/Restart Web UI.
Usage
- Open "txt2img" tab, write your prompts first.
- Put the ControlNet models (
.pt,.pth,.ckptor.safetensors) inside the sd-webui-controlnet/models folder. - Press "Refresh models" to update the models list.
- Upload your image and select preprocessor, done.
Currently it supports both full models and trimmed models. Use extract_controlnet.py to extract controlnet from original .pth file.
Pretrained Models: https://huggingface.co/lllyasviel/ControlNet/tree/main/models
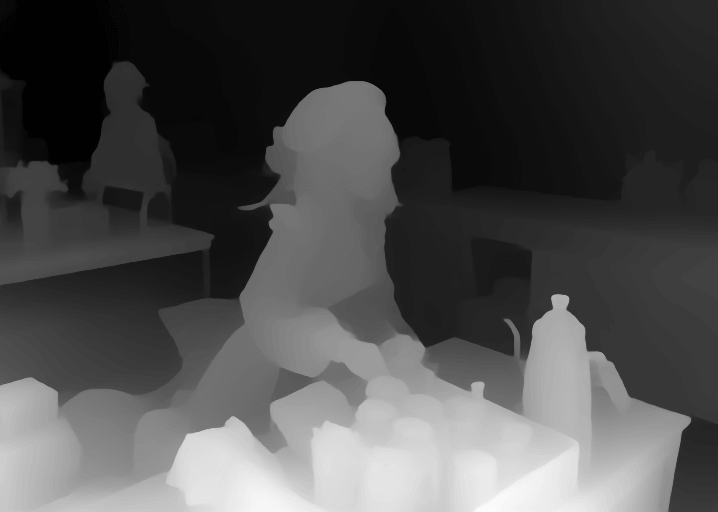
Examples
| Source | Input | Output |
|---|---|---|
| (no preprocessor) |  |
 |
| (no preprocessor) | 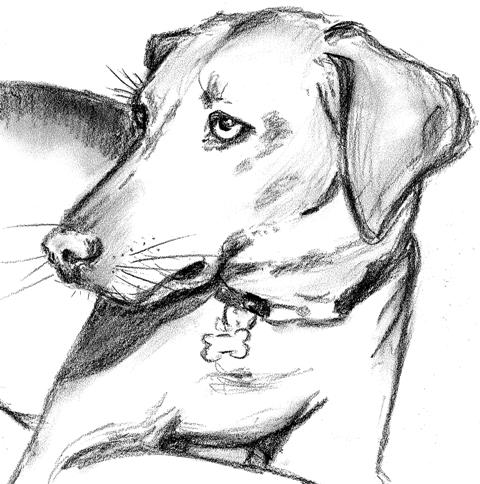 |
 |
 |
 |
 |
 |
 |
 |
 |
 |
 |
 |
 |
 |
 |
 |
 |
Minimum Requirements
- (Windows) (NVIDIA: Ampere) 4gb - with
--xformersenabled, andLow VRAMmode ticked in the UI, goes up to 768x832